I've been sewing more frequently this year but not with much enthusiasm, but that's OK, I'll get there, and I am finishing some projects which always feels good.
After I pieced my Wooded Whimsy tree quilt I noticed I still had a lot of Merriment and Merrily fabric by Gingiber for Moda, particularly the animal panels. I couldn't think of another quilt that I wanted for my house using that fabric, and I already pieced 3 quilts for family members from those lines, but I do get requests for quilts for auctions and raffles and the like so I decided that making a donation quilt would be a good use of my time and the fabric.
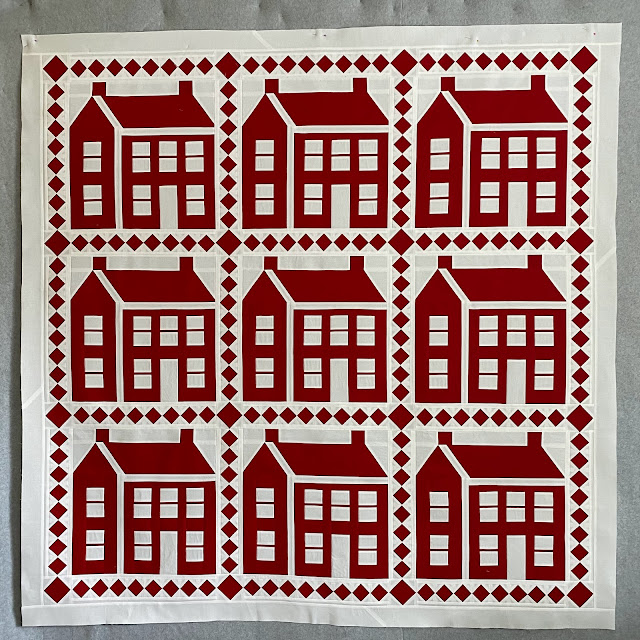
This is my first Starry Eyed quilt using Countdown to Christmas by Sweetwater for Moda. One of my top 10 favorite Christmas fabric lines of all time.
I added a few of the small animal panels to Starry Eyed II because they're my favorite aspect of these lines. That Gingiber really knows how to draw some endearing winter forest animals.
So here is Lifetime Quilt Number 296
I've named it Starry Eyed II
The pattern is by Angela Mitchell and available
here.
It finished at 80" x 80"
The blocks finish at 16"
The pattern called for 5 rows of 4 sixteen inch blocks (20 blocks total), I went 5 x 5 (25 blocks total), because I like square quilts.
It has approximately 951 pieces.
Here's Starry Eyed I, Lifetime Quilt Number 78!!! It's still one of my favorite Christmas quilts and gets used every holiday, an oldie but goodie. It's hard to believe I've pieced over 200 quilts since piecing this one.
I used some of the bigger animal panels for the backing of Starry Eyed II, it's ready to be quilted and when someone says "Hey Thelma, do you have a quilt to donate to our cause?", instead of panicking and sewing 20 hours a day for a week and begging a quilter to quilt the top to meet a deadline, I'll happily say, "why yes I do".
I am so behind on my blog but am determined to get all my quilt finishes from the last couple of years documented, so be on the lookout for some posts about quilts you may have seen on Instagram but not here.